A Living Beverage Frank Trosset's Hacks for Next-Level Home Brewing
Words by Sakeus Bankson | Photos by Brandon Watts
It may seem a strange statement, but brewing beer is actually a type of farming—the livestock are just a lot smaller than a cow or chicken.
A single cell, to be specific.
Yeast, beer’s key ingredient, is a live organism, and just one of the many variables a brewer must master to make a quality beverage. Like raising any other farm animal, doing so requires knowledge, attention, skill and an inordinate amount of patience.
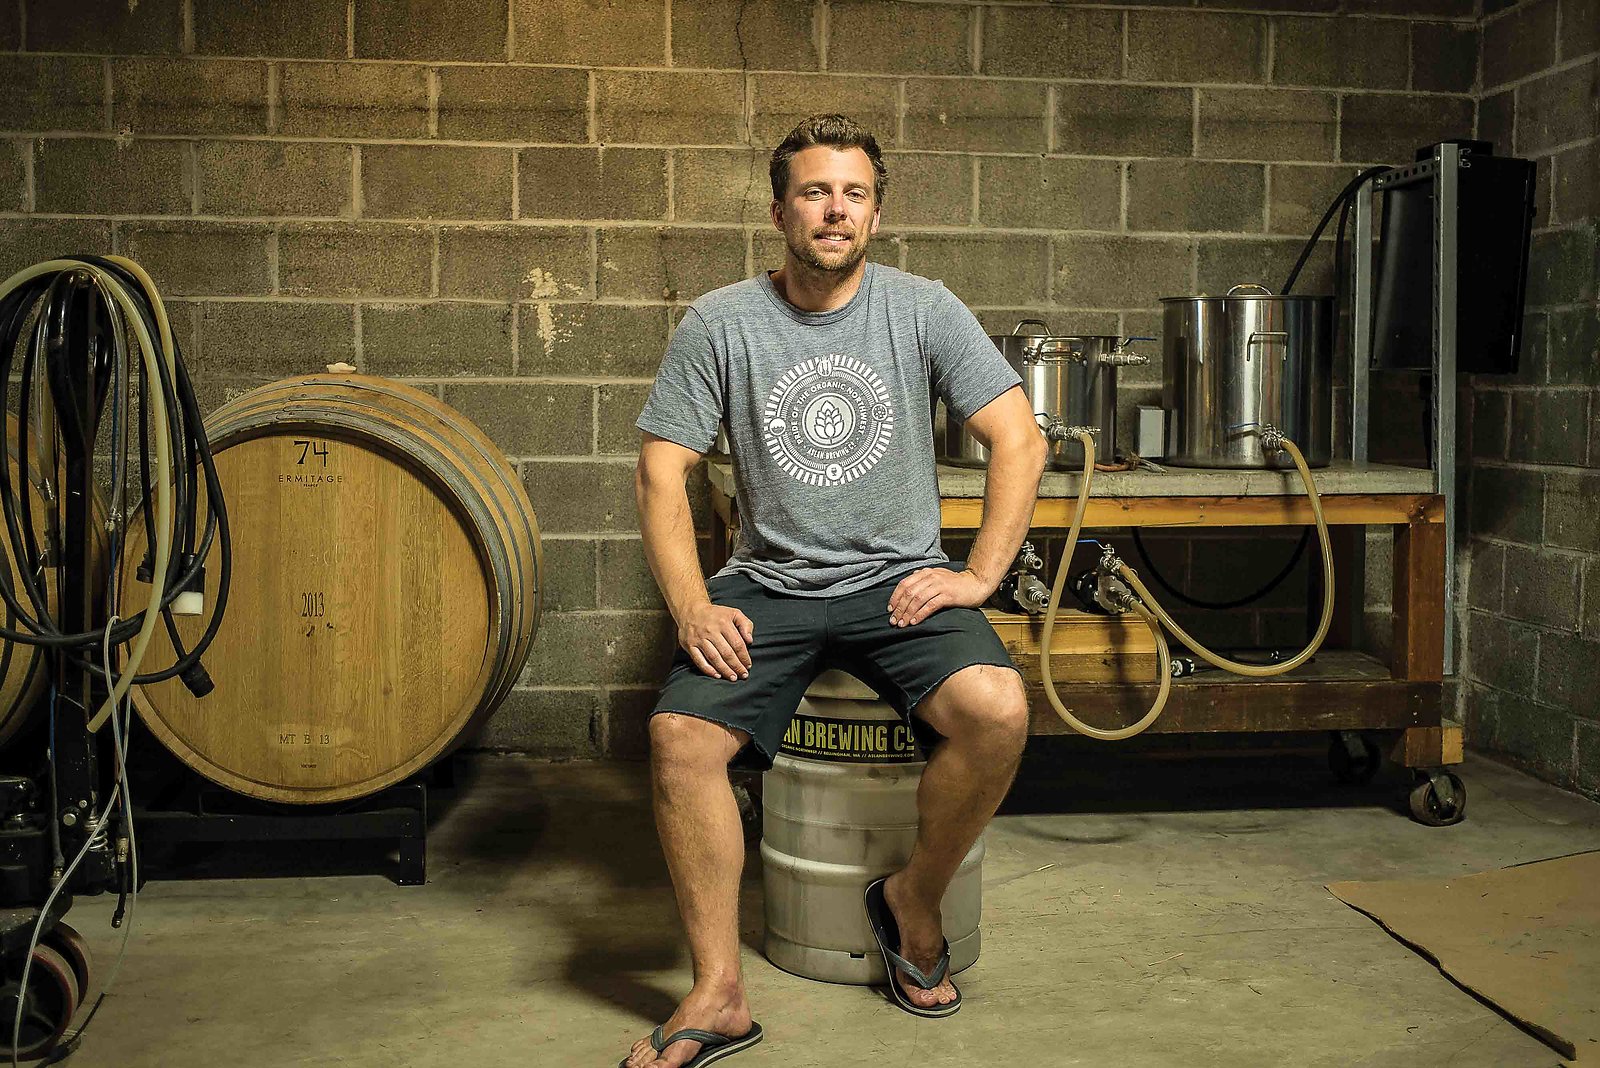
“Beer is a living thing,” says Frank Trosset, co-owner and head brewer for Bellingham’s Aslan Brewing Co. “It takes a minimum of two weeks from the moment you begin creating it to the moment you can try it, and after that it will change from three weeks to four weeks and so on. You can’t make knee-jerk reactions and understand how it affected the beer. It takes time.”
A lot of time. Aslan has been using their current yeast strain for two years, and they brewed more than 130 original batches before deciding on their flagship lineup. They’ve won numerous state and national awards since the brewpub opened in 2014, but looking back, there are plenty of things Trosset would change—just as he’s constantly looking for better methods moving forward.
“After doing this for five years, there are a million things I’ve learned,” Trosset says. “If I was a homebrewer at this point, I’d be like, ‘There is no way I’m even going try to make beer without this, this, that, and that.’” While you’ll have to open your own brewery to learn all those “million things,” Trosset has a few key tips to make the home-brewing process easier, and, more importantly, to make (or raise) better beer.

BREW LIKE A PRO
A Living Beverage:
Yeast control and fermentation performance are wildly important. They’re also the hardest things for a homebrewer to really have an impact on or affect. To take it to the next level, choose a quality yeast and try to really understand it.
Get it Out:
When moving finished beer from your carb into a keg, purge the keg with CO2 beforehand. Otherwise, the keg will be full of oxygen and the beer will begin to go stale immediately.
Don’t be Basic (Or Acidic):
If you start out good, you’re going to end up good. The overall pH starts with the water, but if the pH of any aspect of your brewing is wrong then the flavor of your beer will suffer. Buy a quality pH meter and learn how to use it.
GET THE GEAR
Gas Flow Meter:
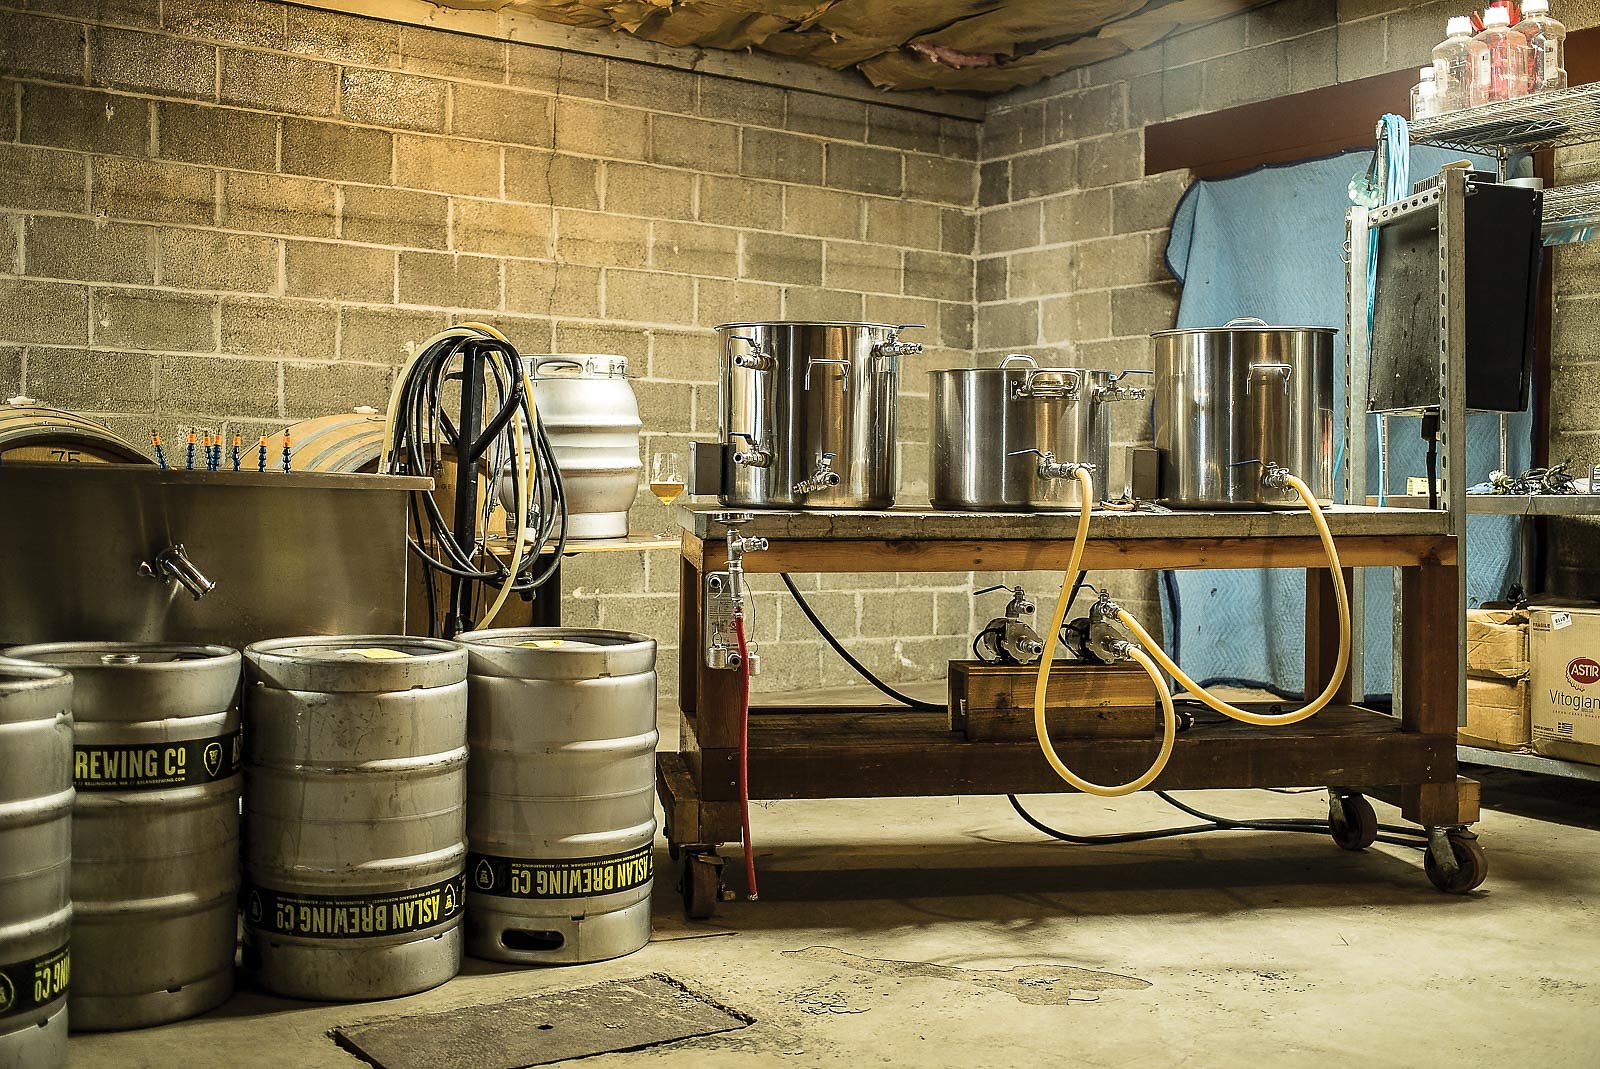
To aerate the wort, use pure, bottled O2 and a flow meter rather than a pressure gauge. This allows you to measure how much and how quickly you’re adding O2, in an analytical method. A pressure gauge only shows you the fluctuation in pressure, which changes as the tank empties. Look for gas flow meters at your local welding shop.
Stainless-Steel Conical Fermenter:
These can be kind of expensive—in the $300 range—but if you’re really into homebrewing a good fermenter is worth saving your money for. This allows you to harvest your yeast—just using a single smack-pack through one fermentation will get you mediocre results. Order one at your favorite brewing supply shop.
DIY Fermentation Chamber:
During the winter, outfit a closet with a space heater hooked to a thermostat, or build a little insulated box with a light bulb in it—light bulbs put out a lot of heat, and can be turned on or off when the temperature fluctuates.
To keep things cool, look for do-it-yourself glycol chiller kits online. Or, for a cheaper option, attach a used window air conditioner to the insulated box to create an adjustable homemade chiller.
A few recipes from some renowned Northwest breweries:
New England-Style IPA
Provided by John Folinsbee, the Head Brewer/Owner of Backcountry Brewing in Squamish, BC
Dawn Patrol Pale Ale
Provided by Frank Trosset, the Head Brewer/Co-Owner of Aslan Brewing Co. in Bellingham, WA
Built to Sell IPA
Provided by Steve Luke, Head Brewer/Founder of Cloudburst Brewing in Seattle, WA